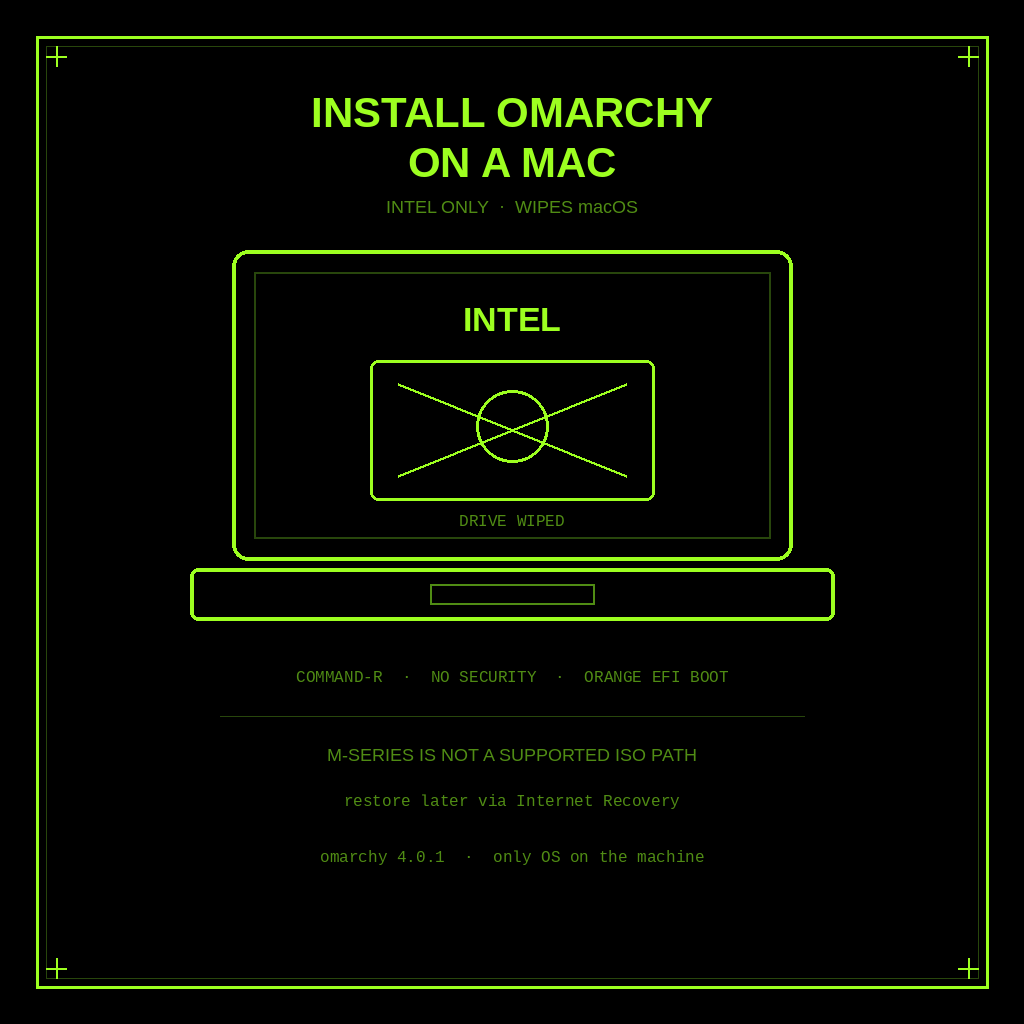
Omarchy on a Mac is Intel only, and the install wipes the drive. That is not a scare line we added. It is the official Mac support chapter. If your machine is Apple silicon, stop here. M-series is not a supported ISO path.
Want the product map first? Read Omarchy Linux Explained. On a Windows PC you can keep Windows in free space. That guide is How to Install Omarchy on Windows. This page is the Mac install, and it is a different deal.
Three facts that decide if you should even flash a USB
Intel only. Official wording: Omarchy has built-in support for Intel Macs. Installing on an M-series Mac is not directly supported at this time. The Omarchy on… page mentions Asahi Alarm (Arch on Apple M1/M2, built on Asahi Linux) and says you can get Omarchy running on top of that with some effort, plus a user-driven guide. That is community work. It is not the ISO path in this article.
It wipes the drive. Omarchy only supports being the only OS on a Mac right now. During install the drive is wiped and macOS will no longer be bootable. You can restore later via Internet Recovery. There is no official dual-boot-on-Mac chapter. Do not invent one from the Windows free-space steps.
A simple official test: 36% performance gains on a 2019 MacBook Pro just by installing Omarchy. That is their line, not a benchmark we ran.
What you are installing
Omarchy is DHH’s opinionated Arch Linux desktop. You install it from an ISO. As of this writing the homepage button points at omarchy-4.0.1.iso. Official getting started says put it on a USB stick with balenaEtcher on Mac/Windows (Linux users get caligula). Encryption is on by default (LUKS). Full-disk on a Mac means the selected drive is gone. Backup first. Copy anything you care about off the machine before you open Recovery.
One hardware note that will bite you at unlock: use a wired or 2.4 GHz keyboard. Full-disk encryption will not accept the disk password from a Bluetooth keyboard, same as you cannot type a BIOS password on Bluetooth. The built-in Mac keyboard is fine. A Bluetooth Magic Keyboard is not, not at the LUKS prompt.
Step 1: flash the ISO
Download the ISO from the Omarchy homepage. Flash it with balenaEtcher. That is the official Mac tool. Do not skip the backup while it writes.
Step 2: turn off Apple Secure Boot
You have to disable Apple’s Secure Boot to boot the USB and the OS. Official steps, in order:
- Turn off your Mac.
- Turn it on and immediately press and hold Command-R until you see the loading screen.
- Select your user and enter your password if prompted.
- In Recovery, open Utilities > Startup Security Utility from the menu bar.
- Authenticate again if asked.
- Choose No Security under Secure Boot.
- Choose Allow booting from external or removable media under External Boot.
If you cannot get into Recovery, or Startup Security Utility will not let you change those two settings, stop. The ISO path is not for that machine.
Step 3: boot the orange EFI device
- Insert the USB.
- Restart and immediately press and hold Option until you see boot devices.
- Select the orange EFI Boot device.
- Proceed with the install as normal.
The installer detects Mac hardware and applies the needed fixes automatically: Broadcom Wi-Fi drivers and firmware, the SPI keyboard driver on the MacBook models that need it, and an NVMe suspend fix for those same models. You do not hunt those packages down yourself.
Then you answer the installer questions, confirm them, and pick a drive. On a Mac that drive is the whole machine. Encryption stays on unless you hit Ctrl+C on the disk formatting confirmation to switch to no encryption. Official line: encryption is the safe, responsible choice for any computer that can be lost or stolen. A no-encryption install is for special cases (protected remote box, throwaway, no sensitive data).
Official timing from getting started: under a minute on the fastest modern machines, usually under 5 even on an older computer. The risk is not the clock. It is the wipe.
T1 and T2: what still does not work
Official Mac support lists known limitations. Community folks keep working on them in #omarchy-on-other on the Discord. Do not treat a Discord tip as a supported fix.
T1 chip (late 2016, first-gen Touch Bar MacBook Pros). Touch Bar is non-functional. Sound is not functioning. Official models:
- MacBook Pro 13-inch (2016, two Thunderbolt 3 ports), model A1706
- MacBook Pro 13-inch (2016, four Thunderbolt 3 ports), model A1708
- MacBook Pro 15-inch (2016), model A1707
T2 chip (2017 until Apple silicon). The installer automatically sets up the patched linux-t2 kernel, T2 audio configuration, Apple Broadcom Wi-Fi/Bluetooth firmware, and fan control via t2fanrd. The Touch Bar runs on the kernel’s built-in Boot Camp-style support. Official model list:
- iMac Pro (2017), model A1862
- MacBook Pro 13-inch (2018, four Thunderbolt 3), model A1989
- MacBook Pro 15-inch (2018), model A1990
- MacBook Air (Retina, 13-inch, 2018), model A1932
- Mac mini (2018), model A1998
- MacBook Pro 13-inch (2019, two Thunderbolt 3), model A2159
- MacBook Pro 13-inch (2019, four Thunderbolt 3), model A2178
- MacBook Pro 15-inch (2019), model A1990
- MacBook Pro 13-inch (2020, two Thunderbolt 3), model A2265
- MacBook Pro 15-inch (2020), model A1990
If your Intel Mac is not on those lists, it can still be a supported Intel install. T1 and T2 are the chips with extra notes, not the only machines Omarchy will boot.
After install: unlock, then live on the desktop
At the encryption unlock screen, use the built-in keyboard or a wired / 2.4 GHz one. Bluetooth will not type the disk password.
The desktop will not pretend to be macOS. Official coming-from Mac or Windows chapter: no dock, no desktop icons. Super is the hub, and on a Mac keyboard Linux treats Command as Super, so Super sits where Cmd always was. Super+Space opens the Omarchy menu. Super+K lists hotkeys. The manual says give it two weeks. That is a culture note, not a hardware requirement.
If you want what shipped, why it is Arch + Hyprland + Quickshell, and how AI agents sit on the desktop, go back to the explainer.
Apple silicon is not this guide
M1, M2, M3, M4: official Mac support says not directly supported. Official Omarchy on… mentions Asahi Alarm as a community path with some effort, plus a Parallels VM note that is “quite the cumbersome process.” Neither is the ISO install above. For non-default setups, official docs point at #omarchy-on-other on the community Discord. We are not inventing M-series steps.
If you get stuck
Official getting started: if you get stuck, you can usually find someone willing to help in #omarchy-help on the community Discord. Keep Mac support and getting started open while you work. They are the source of every step above.
Windows users: do not follow the Command-R / orange EFI path. Use How to Install Omarchy on Windows.
Share this article
Leave a Reply