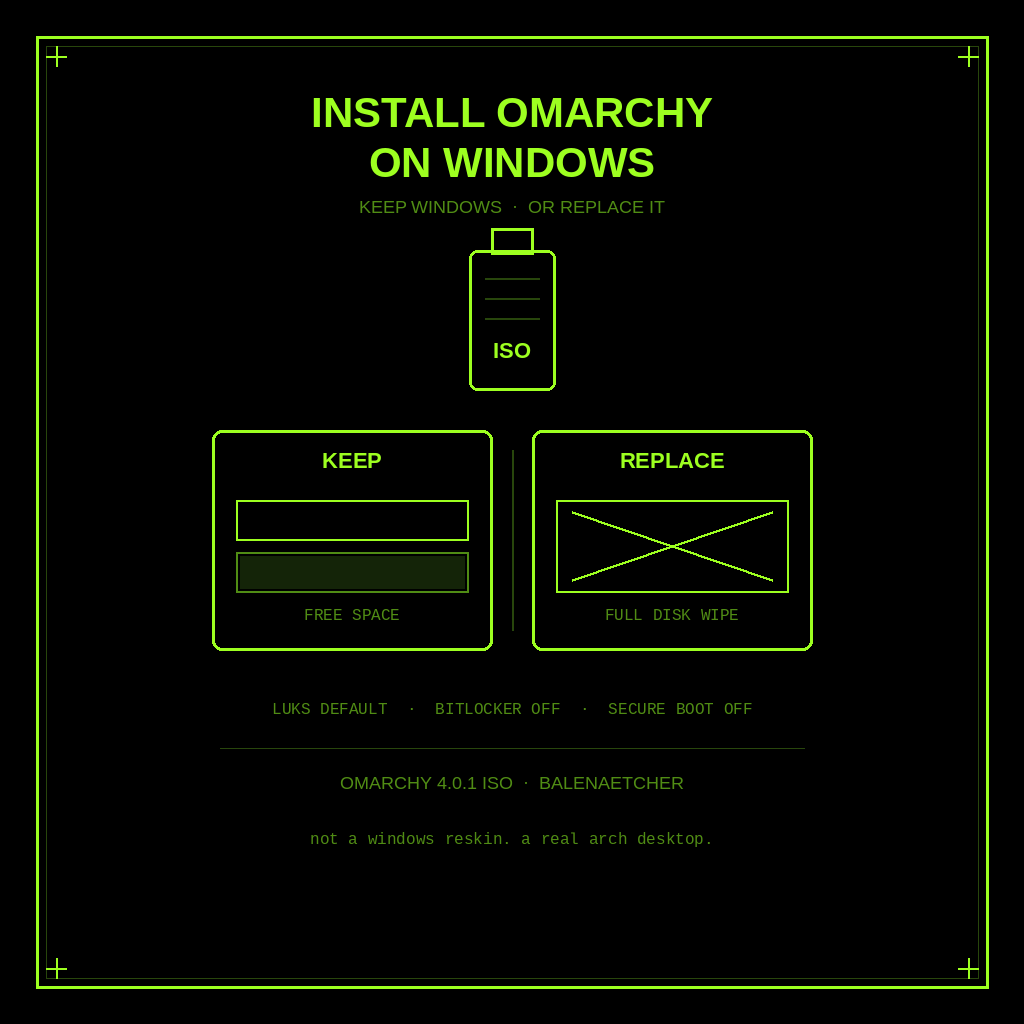
Omarchy is DHH’s opinionated Arch Linux desktop, not a Windows reskin. You install it from an ISO. On a PC that already runs Windows, the official manual gives you two paths: keep Windows and put Omarchy in free space, or wipe the selected drive and replace Windows. Both default to full encryption (LUKS). Both will wreck your week if you skip a backup.
Want the product map first? Read Omarchy Linux Explained. This is the Windows install. On Apple hardware, use the sibling guide, How to Install Omarchy on a Mac.
Pick a path before you flash anything
Keep Windows (free-space / dual boot). Shrink a Windows volume so you have unallocated space. In the installer, pick the disk, then choose Free space install so you do not wipe the full disk. Official dual-boot docs still use LUKS on the Omarchy partition by default. It is effectively the same encryption story as a full drive, just confined to free space.
Replace Windows (full-disk). The installer takes over the selected drive. That wipes it. Official getting started is blunt: take a backup before using an existing drive.
Official timing: it can be done in under a minute on the fastest modern machines, and it shouldn’t take more than 5 minutes even on an older computer. The risk is not the clock. It’s the wipe, BitLocker, and Secure Boot.
Three things that will stop you
1. Backup first. Full-disk wipes the selected drive. Dual boot still shrinks partitions and writes a new bootloader. Copy anything you care about off the machine before you open Disk Management or boot the USB.
2. Turn off Secure Boot and/or TPM in BIOS. Official wording: you have to turn these off to install Omarchy. They’re Microsoft security schemes meant for Windows and Microsoft-affiliated Linux distributions. We are not inventing a click path for your motherboard. Use whatever key your PC already uses to enter BIOS, then turn Secure Boot and/or TPM off. If you cannot do that, stop. The ISO path is not for that machine.
3. BitLocker is not compatible with dual boot. Official dual-boot chapter: this install method is not compatible with BitLocker because BitLocker encrypts the entire drive, not just a partition. If you hit an error that BitLocker is enabled, boot back into Windows, go to Settings -> Privacy & Security -> Device encryption, and toggle BitLocker off. Decrypting may take time. Do this before you shrink the volume.
One more hardware note from getting started: use a wired or 2.4 GHz keyboard. Full-disk encryption will not accept the disk password from a Bluetooth keyboard at unlock, same as you cannot type a BIOS password on Bluetooth.
Download the ISO and flash a USB
Get the ISO from the Omarchy homepage. As of this writing the current button points at omarchy-4.0.1.iso. Official getting started says put it on a USB stick with balenaEtcher on Windows (same tool on Mac; Linux users get caligula, which you do not need here).
Flash the stick, then boot the PC from it. Secure Boot and/or TPM need to be off already. After that you answer the installer questions, confirm them, and pick a drive.
Path A: keep Windows (free-space dual boot)
This is the official dual-boot install. Follow it in order.
- In Windows, type
disk managementin Start and open Create and format hard disk partitions. - Find the volume you want to shrink, right-click, and choose Shrink Volume.
- The amount you shrink is the size of the future Omarchy install, including the boot partition. The docs example uses 50GB of unallocated space. That is an example, not a published minimum. Official pages do not list min CPU, RAM, or disk specs.
- When you are done you should see unallocated space. In the docs screenshot that leftover chunk is where Omarchy goes.
- Boot the Omarchy USB. Answer the configuration questions. After you select the disk, choose Free space install so you do not wipe the full disk.
- Confirm and wait. Encryption is on by default. An unencrypted option exists (not recommended), same as a full-drive install: hit
Ctrl+Con the disk formatting confirmation to switch to no encryption.
When the install finishes, Limine is the default bootloader. Windows does not appear in that menu until you add it. Run limine-scan and follow the prompts to add Windows Boot Manager. Next boot you should see your usual Omarchy options plus Windows Boot Manager.
Path B: replace Windows (full-disk)
This is the default take-the-drive path in getting started. There is no “just the C: folder” version.
- Backup. Then confirm the copy lives somewhere that is not the drive you are about to select.
- Secure Boot and/or TPM off. Wired or 2.4 GHz keyboard plugged in.
- Boot the USB. Answer the configuration questions and confirm them.
- Select the drive. Full-disk install wipes that selected drive. If the machine has more than one disk, read the labels twice.
- Encryption is on by default. Official line: it is the safe, responsible choice for any computer that can be lost or stolen. If you really want no encryption (protected remote box, throwaway, no sensitive data), hit
Ctrl+Con the disk formatting confirmation.
Then sit back. Official claim again: under a minute on the fastest modern machines, usually under 5 even on older hardware. You will not have Windows on that drive after this.
After install: unlock, then live on the desktop
At the encryption unlock screen, use that wired or 2.4 GHz keyboard. Bluetooth will not type the disk password.
If you kept Windows, run limine-scan once you are in so the boot menu lists Windows Boot Manager. Skip that and you have a working Omarchy and a Windows install the bootloader does not show you.
Coming from Windows, the desktop will not pretend to be Windows. Official coming-from Mac or Windows chapter: no dock, no desktop icons. Super (the Windows key) is the hub. Super+Space opens the Omarchy menu. Super+K lists hotkeys. The manual says give it two weeks. That is a culture note, not a hardware requirement.
If you want what shipped, why it is Arch + Hyprland + Quickshell, and how AI agents sit on the desktop, go back to the explainer.
A VM is not the main install
The official Omarchy on… page mentions VMware Workstation on Windows 11 as another popular VM runner where Omarchy has been set up. That is a community pointer, not the main ISO install, and the page does not give step-by-step VM instructions. We are not inventing them. For non-default setups, official docs point at the #omarchy-on-other channel on the community Discord.
If you get stuck
Official getting started: if you get stuck, you can usually find someone willing to help in #omarchy-help on the community Discord. Keep the getting started and dual-boot chapters open while you work. They are the source of every step above.
Mac users: do not follow the Disk Management shrink path. Use How to Install Omarchy on a Mac.
Share this article
Leave a Reply